 Ask in ChatGPT
💰 How to Pay for iApp Executions
Understanding how to pay for iApp executions is crucial for using the iExec network effectively. This guide covers all payment methods, pricing structures, and cost management strategies.
Payment Methods Overview
iExec supports multiple payment methods for executing iApp:
- RLC Tokens: Direct payment using RLC tokens
- Vouchers: Pre-funded vouchers for simplified payment
- Mixed Payment: Combination of RLC and vouchers
Paying with RLC Tokens
RLC tokens are the native currency of the iExec network. You need to have RLC in your wallet to pay for executions.
Step 1: Get RLC Tokens
For detailed information on how to obtain RLC tokens, see our RLC guide.
Step 2: Stake RLC to Power Your iExec Tasks
RLC tokens need to be staked on the iExec protocol to allow task payment. To do this, you should use the iExec SDK.
// Check your balance
const balance = await iexec.account.checkBalance('0xa0c15e...');
console.log('Nano RLC staked:', balance.stake.toString());
console.log('Nano RLC locked:', balance.locked.toString());

// Lock RLC in your account in the iExec protocol
await iexec.account.deposit(1_000_000_000); // Deposit 1 RLC
Now you are ready to run a task on the iExec Protocol and pay for it. See our guide on running iApps with ProtectedData for detailed execution steps.
Paying with Vouchers Chain Not Supported
Vouchers are pre-funded payment instruments that simplify the payment process and can be shared with others. They are ERC-20 tokens that represent pre-funded computation credits on the iExec network and offer several advantages: simplified payment (no need to manage RLC transfers), sharing capabilities (can be shared with team members or users), budget control (set spending limits), and automated top-up (can be configured to automatically refill).
Step 1: Obtain a Voucher
- Acquire Vouchers: Obtain vouchers through the iExec Builder Dashboard. Note that the number of Web3Mail executions and the expiration time of each voucher is restricted based on its validity period. Refer to pricing documentation for more information.
- Support: For specific limitations related to your voucher, please contact iExec Support.
Step 2: Use the Builder Dashboard
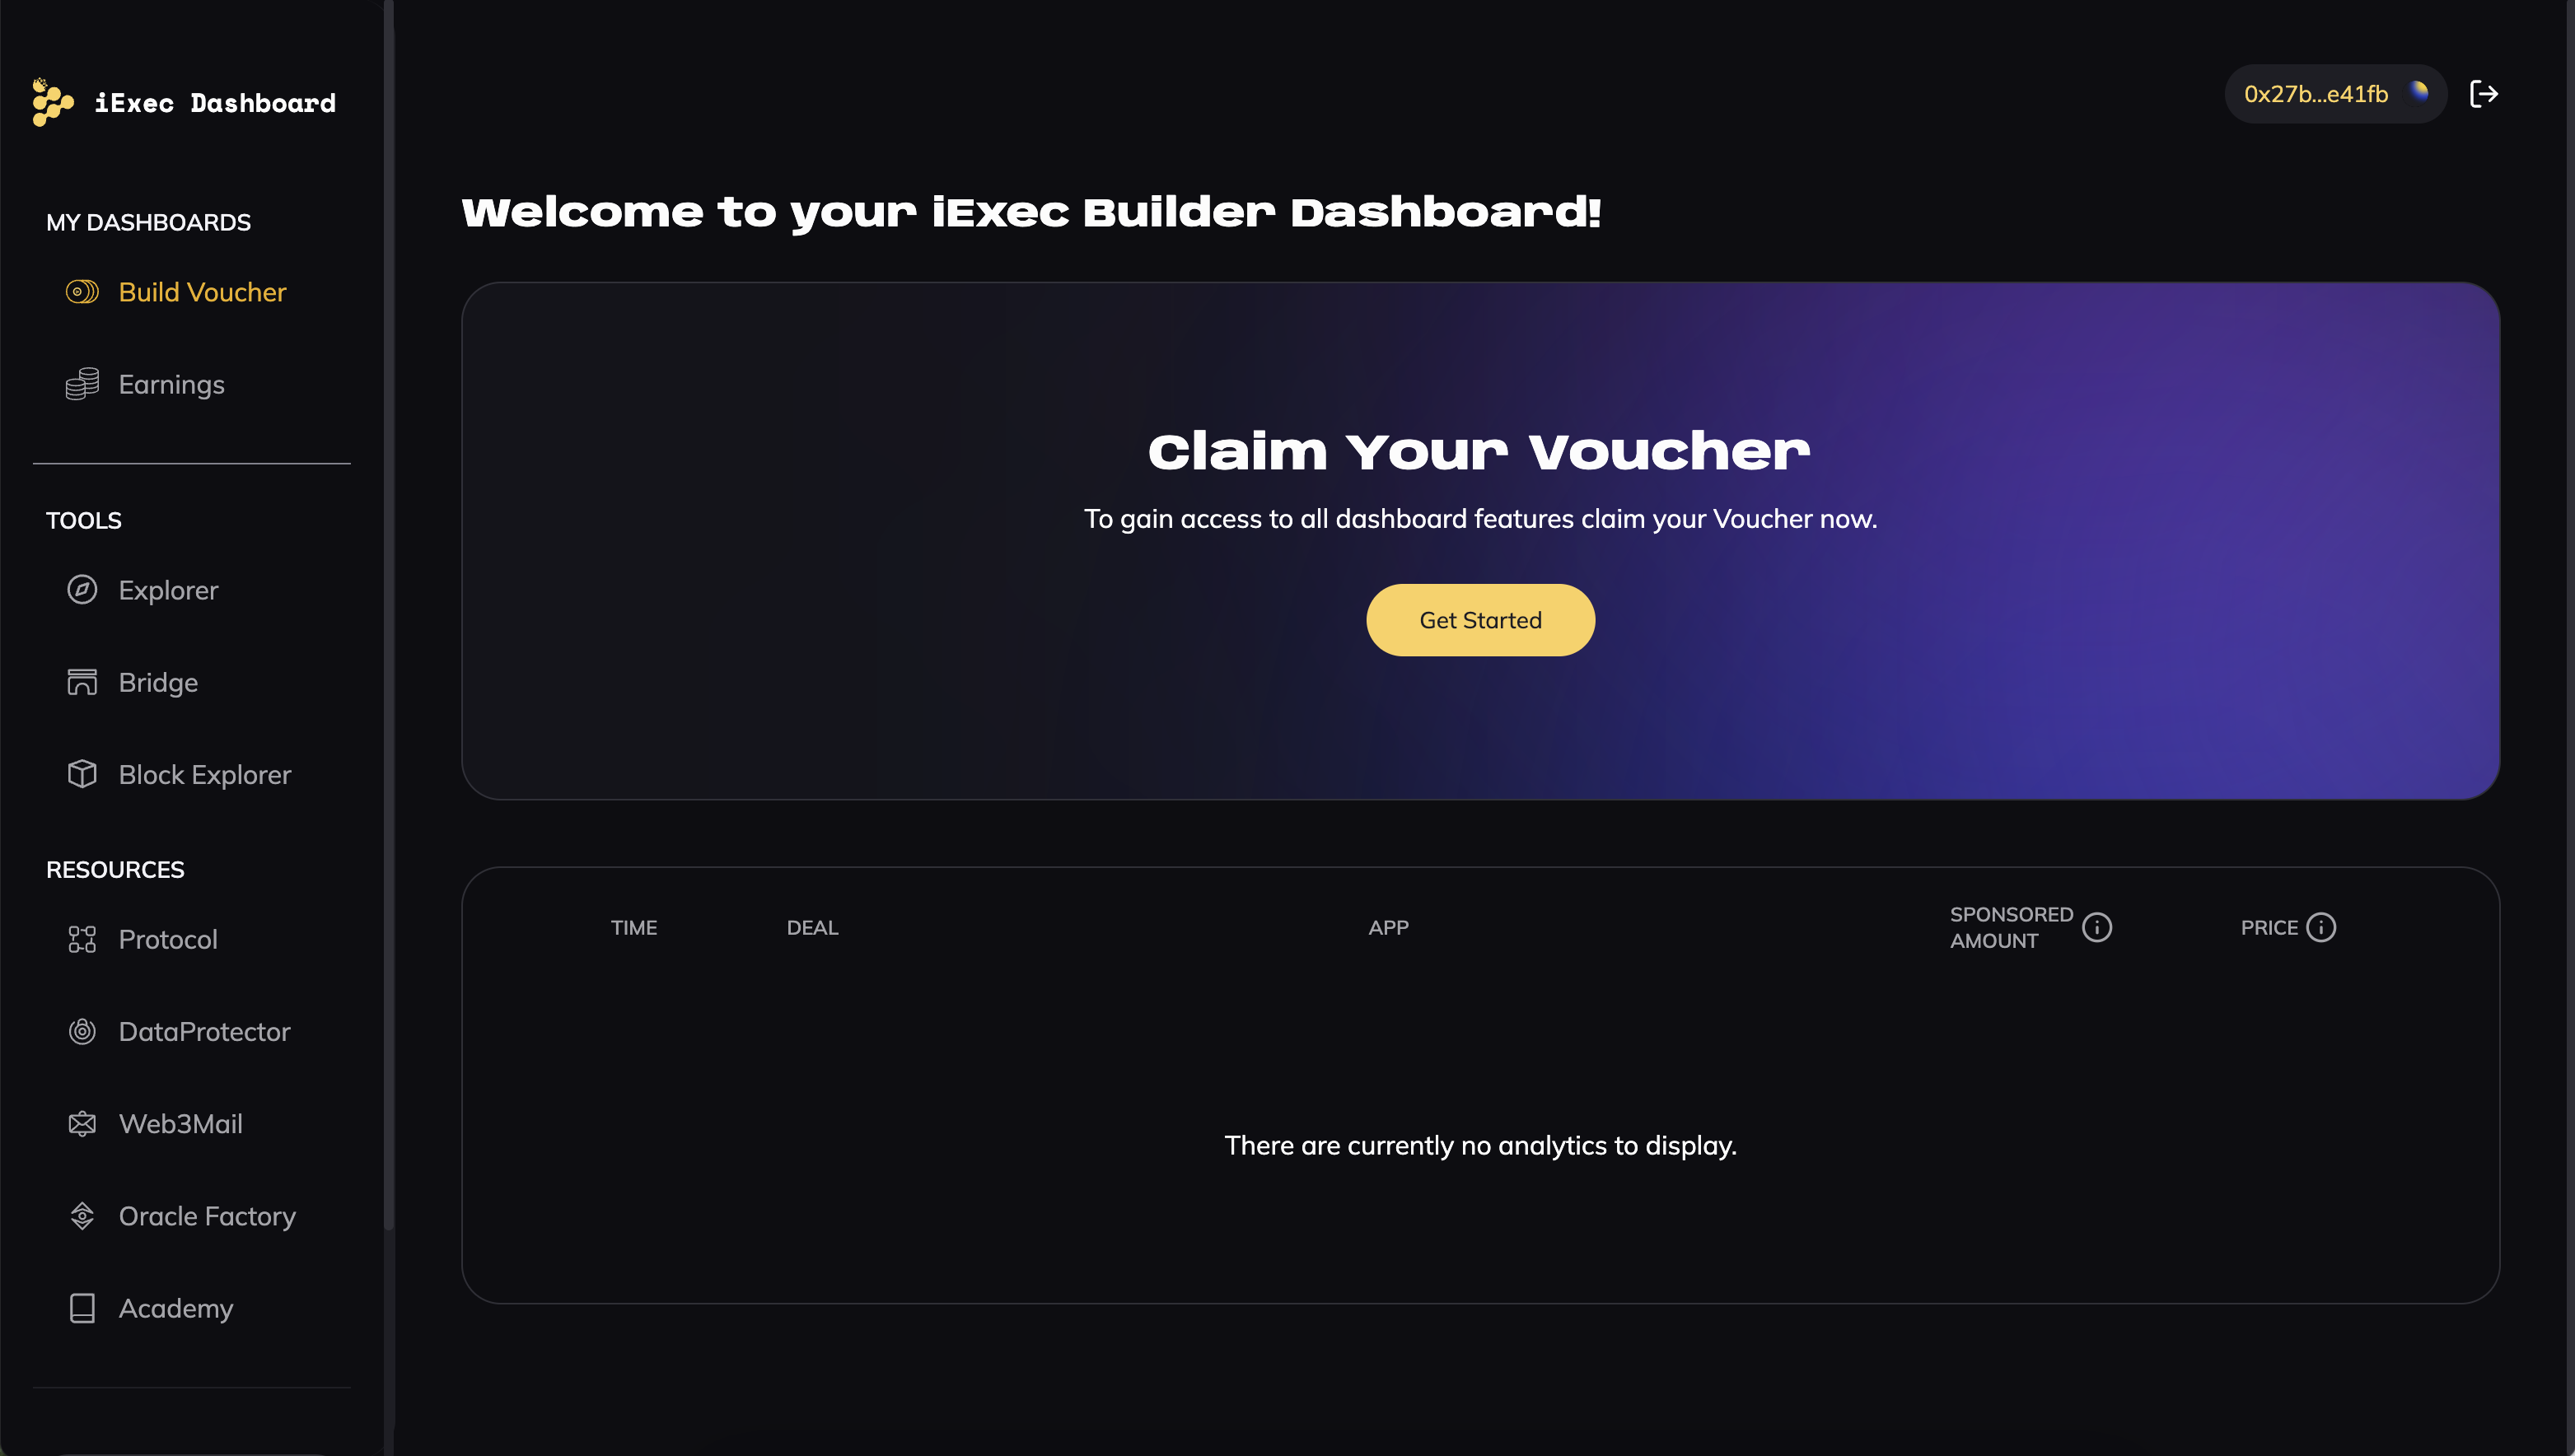
The iExec Builder Dashboard manages vouchers and resources with an intuitive interface for:
- Claiming Vouchers: Builders can claim vouchers during the BUILD and EARN stages.
- Top-Up Vouchers: Future updates will allow direct top-ups via the dashboard. Currently, builders are redirected to Discord.
- Checking Voucher Balance: Track your voucher balance and usage history.
Step 3: Grant Allowance (If Necessary)
Use iExec SDK with iexec.account.approve(voucherAddress) to authorize the voucher smart contract to debit your account if the voucher balance is insufficient. This ensures that if the voucher alone doesn't cover the execution cost, the remaining balance is automatically deducted from your account.
For additional information on using RLC for fallback payment in Web3Mail, refer to the Using RLC with Web3Mail section.
Step 4: Use Voucher
const sendEmail = await web3mail.sendEmail({
  protectedData: '0x123abc...',
  emailSubject: 'My email subject',
  emailContent: 'My email content',
  useVoucher: true,
});
const sendTelegram = await web3telegram.sendTelegram({
  protectedData: '0x123abc...',
  telegramContent: 'My telegram message content',
  senderName: 'Awesome project team',
  label: 'some-custom-id',
  dataMaxPrice: 42,
  appMaxPrice: 42,
  workerpoolMaxPrice: 42,
  useVoucher: true,
});const result = await dataProtectorCore.processProtectedData({
protectedData: '0x123abc...',
app: '0x456def...',
useVoucher: true,
});TIP
If your voucher doesn't have enough RLC to cover the deal, the SDK will automatically get the required amount to your iExec account. Ensure that your voucher is authorized to access your iExec account and that your account has sufficient funds for this transfer to proceed.
Step 4: Use Someone Else Voucher
const result = await dataProtectorCore.processProtectedData({
  protectedData: '0x123abc...',
  app: '0x456def...',
  useVoucher: true,
  voucherOwner: '0x5714eB...',
});
WARNING
Make sure the voucher's owner has authorized you to use it. This parameter must be used in combination with useVoucher: true.
Understanding Pricing
Cost Components
iApp execution costs consist of several components:
- Application Fee: Paid to the app developer
- Data Fee: Paid to the data owner (if using protected data)
- Workerpool Fee: Paid to the computation provider
- Gas Fees: Blockchain transaction costs
Setting Maximum Prices
You can control costs by setting maximum prices for each component:
const result = await dataProtectorCore.processProtectedData({
  protectedData: '0x123abc...',
  app: '0x456def...',
  dataMaxPrice: 5, // Maximum amount (in nRLC) to pay the protected data owner
  appMaxPrice: 3, // Maximum amount (in nRLC) to pay the iApp provider
  workerpoolMaxPrice: 2, // Maximum amount (in nRLC) to pay the workerpool provider
});
INFO
All price parameters are in nRLC (nano RLC). The default value for all price parameters is 0, which means only free resources are accepted.
Next Steps
Now that you understand payment methods:
- Learn about Run iApp with ProtectedData
- Learn about Run iApp without ProtectedData